TL;DR
There is no single student visa photo size or file rule. Start on the official immigration page for your destination, select the exact visa or study-permit category, and follow the instructions generated for your application. A digital upload, printed photographs and an in-person biometric appointment are different steps and cannot be treated as interchangeable.
Quick answer: start with your application route, not a generic photo size
Student visa photo requirements are set by the authority handling your application, the visa or study-permit category, and the way you submit it. Before taking, editing or printing a photo, determine whether the current step asks for a digital file, physical photographs, identity verification in an app, or biometric capture at an authorised centre.
A measurement repeated on a commercial photo site is not a global student visa standard. The same country can use different instructions for an online form, a consular appointment and a later passport-submission request. Open the official page for your exact route and keep that page with your application records.
Check the destination authority and exact visa category
Begin with the national immigration authority, embassy or consulate responsible for your destination. Select the exact category shown in your application, such as an F or M visa, Student visa, study permit, residence permit for study, or another country-specific name. These labels are not interchangeable. A study permit may be one document in a wider entry process, while another country may issue a student visa directly.
Use the official category page to reach the application form and photo guidance. A school, travel agent or forum can help explain the process, but it cannot replace the instructions attached to your own government application.
Identify whether the step needs an upload, prints or biometrics
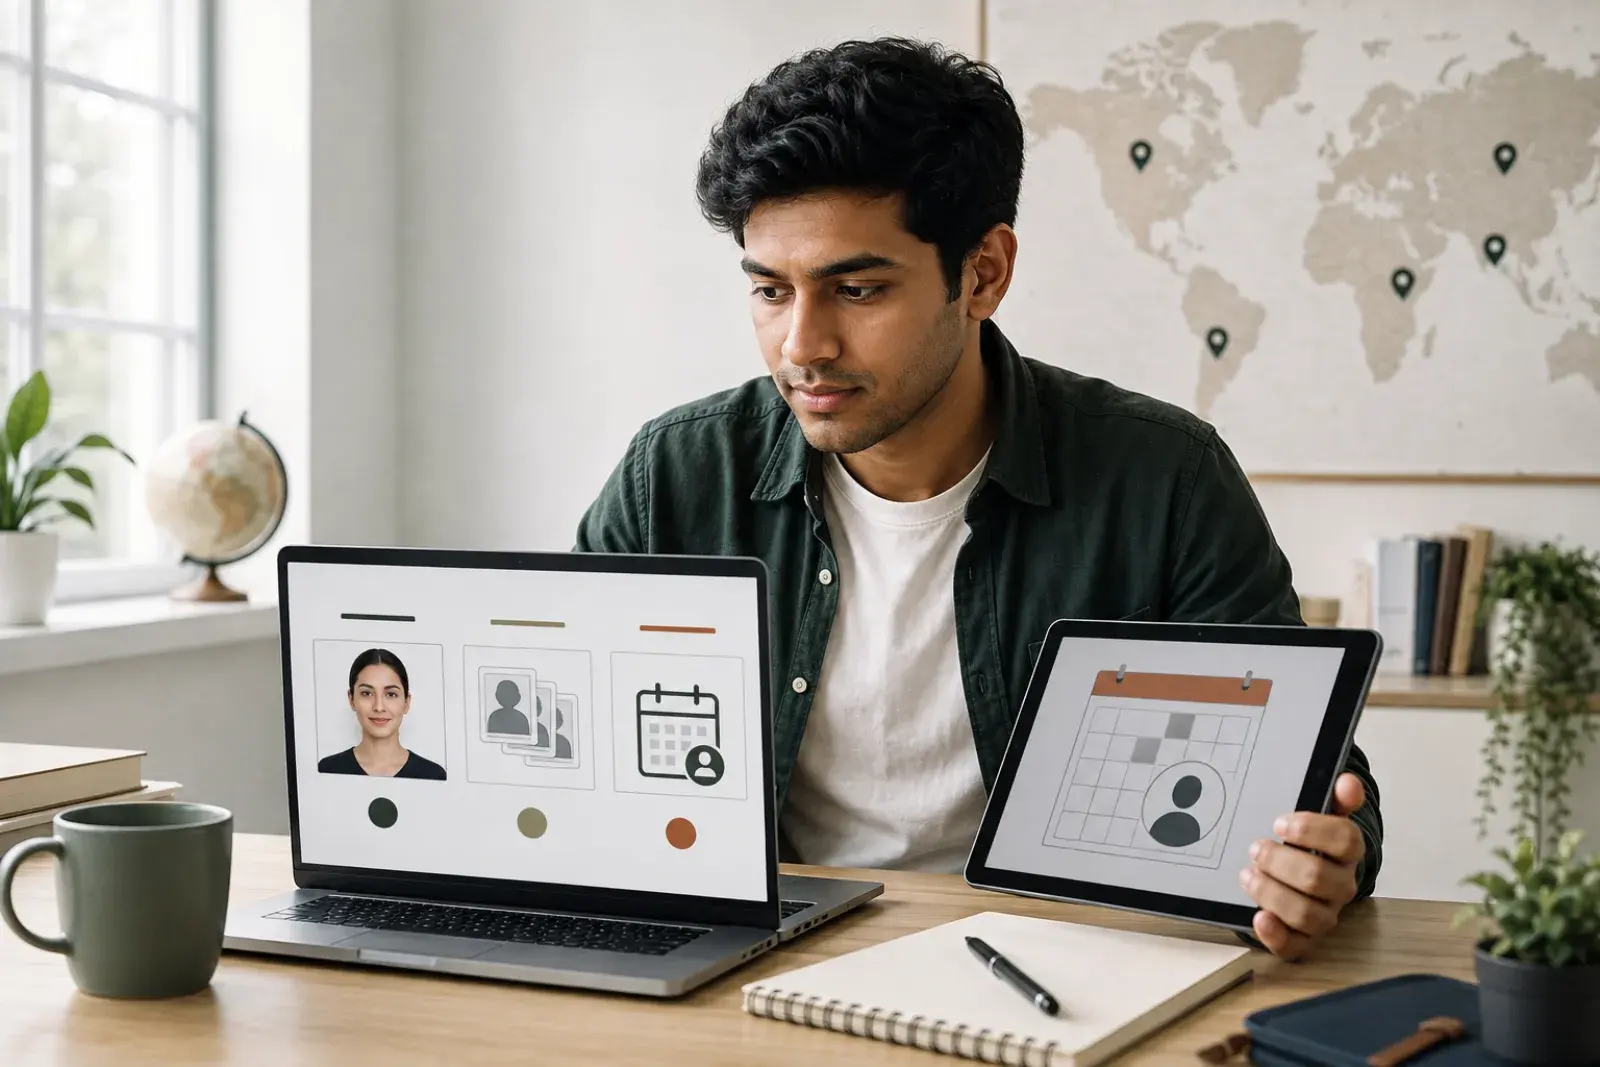
Read the wording in the active portal and appointment notice. A digital upload means you must provide an image file that meets the portal's format and technical limits. Printed photographs are physical items with their own size, paper, quantity and labelling rules. Biometrics usually means an authorised centre captures identity information, commonly fingerprints and a photograph.
One requirement does not automatically cancel another. An application can accept a digital image and later require biometrics, or it can request printed photos during passport submission. Complete each instruction at the stage and location specified by the authority.
Record the requirements before taking or editing a photo
Make a route-specific checklist before opening a camera or editor. Record the required file format, pixel or physical dimensions, maximum file size, image recency, background, expression, head covering and glasses rules. For prints, also record quantity, paper finish, reverse-side writing and whether a photographer's details are required.
Save the official page or application notice and note the date you checked it. Requirements and service routes can change, and search snippets may omit conditions that appear on the full page.
Why there is no universal student visa photo requirement
Official processes do not use one worldwide photo specification. The United States links student visa applicants to DS-160 and visa-photo rules. The United Kingdom uses an online Student visa application and may direct the applicant through a digital identity or visa-centre route. Canada uses study-permit document instructions, separate temporary-resident photo specifications and biometric directions.
These examples are included to show how routes differ, not to create a combined specification. Use only the example matching your destination and active process, then verify it on the linked official source listed at the end of this guide.
United States: F and M applicants follow the DS-160 route
For a U.S. student visa, begin with the Department of State Student Visa page. F and M applicants generally complete the DS-160 online nonimmigrant visa application, whose photo workflow can include a digital upload. The Department of State maintains separate Digital Image Requirements and Visa Photo Requirements pages for the technical file and visible composition rules.
The U.S. Student Visa page also explains that if the upload fails, the applicant must bring a printed photo in the format explained by the photo requirements. Local embassy or consulate instructions still matter. Those U.S. rules should not be copied into a UK, Canadian or other country's application.
United Kingdom: follow the identity route shown in the application
A UK Student visa application starts online. The service tells the applicant how to prove identity, which can involve an identity-checking route or an appointment at a visa application centre. Do not convert this into a claim that every applicant must upload or carry a generic 35 x 45 mm photograph.
When the process asks for a digital face photo, current GOV.UK guidance says it must not be the same image used in the applicant's passport or national identity card. That restriction is a useful warning against automatic reuse, but it is specific to the UK digital visa-photo step and should not be presented as a rule for every destination.
Canada: read the study-permit checklist and biometric instructions together
For Canada, start with IRCC's study-permit document page and the checklist generated for the application. IRCC also publishes separate temporary resident visa photograph specifications and Guide 5269 for study-permit applications made outside Canada. Which document applies depends on the applicant's route, location and instructions.
Do not infer a paper-photo requirement merely because a guide mentions photographs, and do not infer that biometric capture removes every possible later request. Follow the personal checklist, biometric instruction letter and any passport-submission notice in sequence.
Prepare a source photo only after you know the route
After confirming that a self-prepared image is accepted, start from a clear original rather than an old compressed copy. Keep the unedited source until every upload, appointment and later document request is complete, and create a separate export for each portal.
Use a clean, recent and unaltered image when self-capture is allowed
Use even lighting, sharp focus and a direct view of the face when those conditions match the official rules. Avoid filters, beauty effects, face reshaping, artificial blur and edits that change identifying features. Check the destination's instructions for expression, glasses, head coverings, clothing, shadows and background colour rather than assuming a universal answer.
Do not scan a small printed photo or photograph a document image unless the authority explicitly allows that method. Both approaches can introduce texture, glare, compression and inaccurate colour. A camera original gives you more reliable material for the required crop and export.
Do not assume that a passport photo can be reused
A passport photo may have the wrong age, dimensions, crop, file format or capture method for a student visa route. Some processes may accept an image that independently meets all current rules, while others impose a specific new-photo or non-reuse condition. The UK digital visa-photo guidance, for example, says not to use the same photo as a passport or national identity card.
Check the actual route before reusing anything. Similar appearance does not prove that two document systems have the same technical or procedural requirements.
Run the right pre-submission check
Check the final item against the official page and the instructions in your account or appointment letter. If they appear inconsistent, pause and use the authority's help channel. An upload widget's technical acceptance is not final approval; the reviewing authority can still reject a poorly cropped, outdated or altered image.
For a digital upload
Confirm the required file type, dimensions or aspect ratio, orientation, maximum file size and colour mode. Review the crop, face position, background, focus and lighting against the official examples. Export from the original and inspect the final file at normal size; extreme compression can create blocky edges around the face and hair.
Upload only to the official portal. Read any validation message exactly, because a rejected file may have the wrong format or size even when the portrait looks acceptable. Keep the source and final export until the application is finished.
For printed photographs
Confirm the number of prints, physical width and height, paper type, finish, recency and whether anything must be written or stamped on the back. Check whether the photographs must be loose, attached to a form or placed in a separate envelope.
Do not crop a digital file to a familiar size and assume the print is correct. Printer scaling, borders and paper handling can change the physical result. Measure a finished print and follow the embassy or authorised centre's local instructions.
For an in-person biometric appointment
Read the biometric instruction or appointment letter for the location, timing, identity documents and preparation rules. A biometric appointment commonly includes a live photograph and fingerprints, but the exact process belongs to the authority and authorised centre.
Do not assume that live capture cancels an earlier upload, a passport-submission photo or another item in your personal checklist. Bring only the photo materials the appointment or application instructions request, and keep proof that you completed the appointment.
If the photo is rejected or the portal will not accept it
A failed upload does not always mean the face photo itself is unacceptable. The cause may be file type, dimensions, size, corruption, browser handling, an expired session or an attempt to use the wrong field. Preserve the exact error message before changing the file.
Do not repeatedly compress, filter or reshape the same image without knowing the cause. Each unnecessary edit can reduce quality or alter the applicant's appearance.
Read the exact failure message first
Compare the message with the portal's current technical limits and inspect the final file properties. Check that you selected the correct upload field, that the extension matches the actual file type, and that the image opens normally. Then return to the official visible-photo rules for crop, background, expression and recency.
If the system says the photo was not received, do not assume that a confirmation page proves success. Save the confirmation and follow any destination-specific instruction for replacement uploads or interview materials.
Use the official support channel when instructions are unclear
Contact the immigration account help service, embassy, consulate or government-designated visa centre for the route you are using. Provide the error wording and non-sensitive file properties, but do not send identity documents through an unofficial social account or forum.
A photo tool can help create another export after the requirement is known. It cannot interpret a private application decision, submit the visa, override a biometric notice or guarantee that the authority will accept the photo.
Use country-specific guidance after confirming your destination
Use a destination-specific tool or guide only after confirming the route. IDPIC can help prepare U.S. or Canadian visa photos and offers general size, background and capture guides, but official instructions always take priority. IDPIC is independent of immigration authorities, does not submit applications, and cannot promise photo acceptance, visa approval or entry.
Final checklist before submitting
Confirm the official destination site, exact visa category and current submission route. Verify whether this stage needs an upload, prints, biometrics or several steps, then compare the final item with the official rules. Keep the source, export, appointment notice and confirmation. If a later instruction differs from a general guide, follow the instruction issued for your application.
Key data at a glance
| Official example | What it illustrates | What not to assume |
|---|---|---|
| U.S. F or M visa | DS-160 digital upload and consular instructions can both matter | Do not apply U.S. file values to another country |
| UK Student visa | Online application followed by the assigned identity route | Do not assume every applicant needs a 35 x 45 mm print |
| Canada study permit | Personal checklist, photo specifications and biometrics must be read in context | Do not infer paper-photo handling from biometrics alone |
| Other destinations | National portals, embassies and authorised centres may use different routes | Do not use any example above as a global default |
Frequently asked questions
Is there one standard student visa photo size?
No. The correct size or file rule depends on the destination, visa category and submission route. Use the dimensions and technical limits on the official page and the instructions generated for your own application.
Do I need a digital upload, printed photos or biometrics?
Check the active application portal, personal document checklist and appointment notice. These are separate steps, and one application may require more than one of them at different stages.
Can I use the same passport photo for my student visa application?
Do not assume so. Check recency, dimensions, file format, capture method and any explicit reuse rule. Current UK digital visa-photo guidance, for example, says not to use the same image as a passport or national identity-card photo.
What should I do if my student visa photo upload is rejected?
Save the exact error, compare the file properties and visible image with the official rules, and check that you used the correct upload field. If the message is unclear, contact the official immigration, embassy or authorised visa-centre support channel.
Where can I find my country's official requirements?
Start on the destination government's immigration website, open the exact student visa or study-permit category, and follow its application link. Use embassy or visa-centre instructions only when that government route designates them.
Can I take a student visa photo at home?
Only if the route accepts a self-prepared image. First confirm the official rules, then use a clear, unfiltered source photo and export it to the required format. An app or biometric-centre route may require live capture instead.
Example scenario
Priya checks the route before preparing a photo
Priya has a recent passport photo but does not submit it automatically. She opens the destination government's student visa page, selects her exact category, saves the photo guidance and checks the personal document list. When the process shows a digital-photo step, she confirms whether reuse is allowed and creates a route-specific export. She then reads the biometric appointment notice separately instead of assuming the upload completed every identity step.
Sources & References
- 1U.S. Department of State: Student Visa
- 2U.S. Department of State: Visa Photo Requirements
- 3U.S. Department of State: Digital Image Requirements
- 4GOV.UK: Apply Online for a Student Visa
- 5GOV.UK: Photo for a Visa Application or Permission
- 6IRCC: Documents for a Study Permit
- 7IRCC: Temporary Resident Visa Photograph Specifications
- 8IRCC Guide 5269: Study Permit Applications Outside Canada
Public change history
Published a source-backed comparison of U.S., UK and Canadian student visa photo workflows.
Rewritten around destination and application-route intent; separated uploads, prints and biometrics; added current UK reuse guidance and expanded official sources.