TL;DR
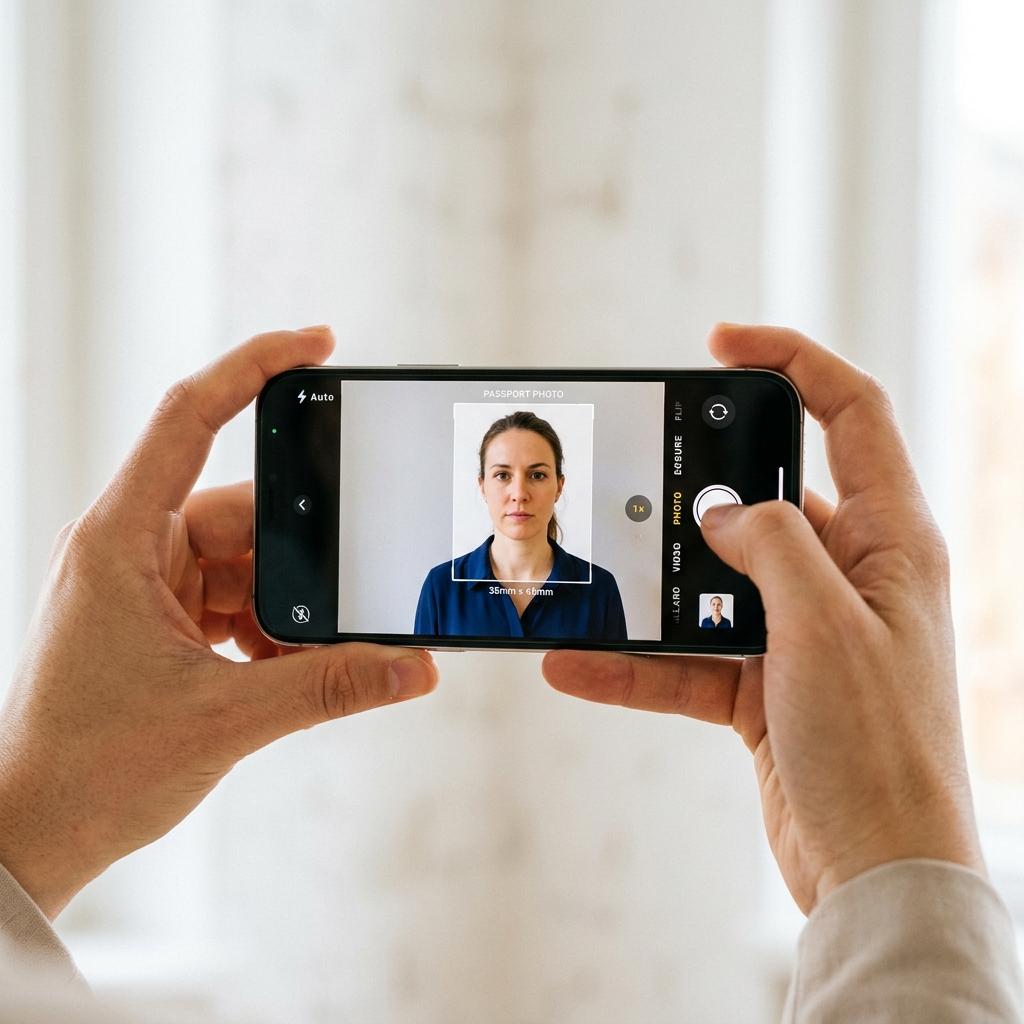
Use your phone's rear camera, turn off portrait mode and beauty filters, stand 1.2–2 m from your face in natural front-facing light, keep the phone at eye level, and take multiple shots with a timer. Both iPhone and Android produce photos with more than enough resolution for any passport standard.
iPhone settings for passport photos
Open the Camera app and ensure you are in Photo mode (not Portrait, Panorama, or Cinematic). Tap the arrow at the top to reveal settings — turn off the flash, turn off Live Photo, and ensure no filter is applied. If using an iPhone 15 or later with a 48 MP main camera, the default 24 MP mode is fine. Do not enable ProRAW or ProRes — JPEG is the required format. Use the 1x zoom (main lens). Enable the 3-second timer under the clock icon.
Android settings for passport photos
Open the Camera app and select the standard Photo mode. Disable 'Beauty mode', 'Face retouching', 'Portrait', 'Night mode' and any scene-optimization (AI Scene Detection). Samsung users: go to Camera Settings → turn off 'Scene optimizer'. Pixel users: ensure 'Face Unblur' and 'Photo Unblur' are not actively processing. Set the flash to Off. Use 1x zoom. Set a 3-second self-timer.
Positioning and framing with a phone
Prop your phone on a stack of books, a tripod or have someone hold it. The camera should be at your eye level, approximately 1.2–2 metres from your face. Frame the shot to show from the top of your head to just below your shoulders. Do not angle the phone up or down — this distorts facial proportions and is a common rejection reason. Centre your face horizontally.
Common phone-photo mistakes that cause rejections
The five most common phone-photo rejection reasons are: 1) Portrait mode or bokeh effect is on, creating artificial background blur that triggers automated rejection. 2) Beauty/skin-smoothing filter is active. 3) The selfie camera distorts facial proportions at close range. 4) HDR processing creates unnatural tonal shifts. 5) Phone flash creates uneven lighting and red-eye. Turning off all five of these eliminates the majority of phone-related rejections.
Key data at a glance
| Setting | iPhone | Android |
|---|---|---|
| Camera mode | Photo (not Portrait) | Photo (not Portrait/Beauty) |
| Turn off | Portrait, Live Photo, Filters | Beauty, Scene Optimizer, Night Mode |
| Flash | Off | Off |
| Zoom | 1x (main lens) | 1x (main lens) |
| Timer | 3 seconds | 3 seconds |
| Resolution | 12–48 MP (all sufficient) | 12–200 MP (all sufficient) |
| File format | HEIF → convert to JPEG | JPEG (default) |
Frequently asked questions
Can I use my front-facing (selfie) camera?
You can, but the rear camera is strongly recommended. Selfie cameras have shorter focal lengths which distort facial proportions at close range. If you must use the selfie camera, use a tripod and place the phone at least 1 metre away, using the timer.
Should I turn on HDR?
It's safest to turn it off. While HDR can improve lighting balance, some implementations create unnatural tonal shifts or ghosting artefacts that may cause rejection. Standard exposure with natural window light gives the most consistent results.
My iPhone saves photos as HEIF, not JPEG. Is that OK?
For IDPIC, yes — the tool accepts both formats and converts to JPEG automatically. If submitting directly to a government portal, change your iPhone setting: Settings → Camera → Formats → Most Compatible. This saves photos as JPEG.
Do I need a special passport photo app?
You don't need a separate camera app. The built-in camera with the right settings works perfectly. You do need a compliance-checking tool like IDPIC to crop, position and verify the photo meets your document's requirements.
Real-world scenario
Remote worker: Needs a visa photo while travelling without a photo studio
Alex is a digital nomad in a small town in Portugal and needs to renew their US passport. There's no photo studio within 50 km. They prop their Samsung phone on a bookshelf at eye level, face a large window for natural light, stand in front of the white apartment wall, set a 3-second timer, and take 10 shots. They pick the sharpest one, upload it to IDPIC, select 'US Passport Photo', and download the compliant result — all within 5 minutes, from a rural Airbnb.